The art of painting has been evolving for centuries. Although modern technologies have replaced many techniques, watercolors are still a popular medium used to paint numerous art pieces worldwide. Here are five watercolor painting techniques to help those interested in this art get through easily, and make it easier to learn how watercolors work and what they can do.
1. Wet-on-dry
This technique entails applying wet paint on a dry surface. It is a widespread technique that many artists have used because it helps produce perfect shapes. It is also a simple way for beginners to get familiar with watercolor painting.
In the wet-on-dry technique, you should first apply your paint on the paper and let it dry completely before applying another layer of color over this section. After adding an extra coat of color, wait until it dries up so that you can add more colors in sequences or layers till the final result looks perfect from all angles.
This enables artists to produce soft images while still retaining their original shapes, usually formed during the drying period. It is beneficial when you want to create abstract paintings because there will not be any visible boundaries between each area once everything has been dried properly.
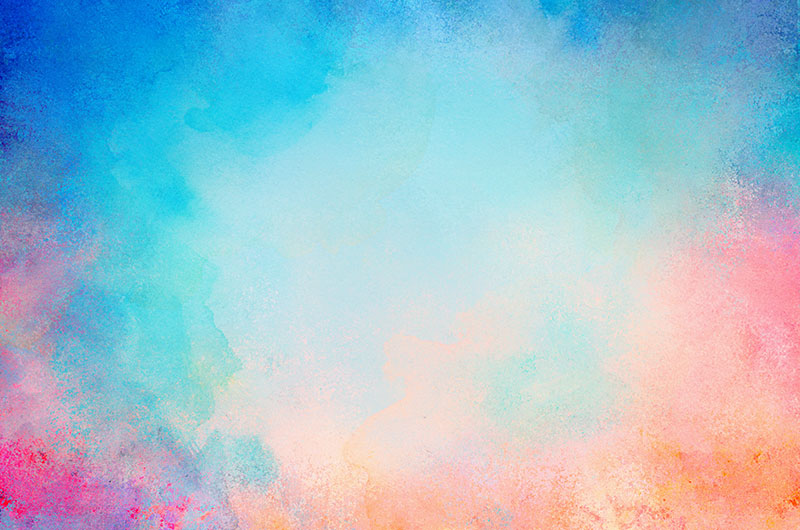
2. Wet-on-Wet
Wet-on-wet is the complete opposite of wet-on-dry. This technique involves applying wet color on a wet surface, which can be facilitated through using watercolor brushes or spray bottles filled with clean water.
This method allows artists to create unique images that other painting techniques cannot make. When you use this technique, there will always be some areas that turn out brighter than others because they were painted earlier than the rest of the art piece, where more coats were added later on during the process. To get better results, repeat the process 2-3 times. The wet-on-wet technique should only be used if you look to create beautiful artworks similar to those found at the bottom of waterfalls or simple skies.
3. Building up Color
In this technique, the artist should start with a light color and gradually add darker shades until he or she reaches their desired tone. It is an excellent way to create unique effects that cannot be obtained through other forms of art mediums. For instance, watercolors can help artists produce several different colors within one painting – which other media cannot do.
This technique should only be used if you are looking to create detailed images with each layer. It might be pretty challenging for beginners because they will need a lot of practice before mastering the art form perfectly.
4. Create Gradients
Gradients are essential for creating more natural-looking images. If you want to create an image that looks like it is painted on the side of a mountain, this technique will be perfect since it can help artists quickly achieve these effects without struggling too much. The gradient effect should only be used if you are trying to mimic nature or a realistic background.
To use the gradient technique, artists need a smooth transition of colors from one shade to another – with each color being visible on the same picture. If you have two or more watercolors that are completely different from each other, then you should start by applying them side-by-side as they dry up. Once they are dry, you can apply another coat of watercolor paint to the remaining section. The final result should be a transition from one color to another that looks like it is fading into each other seamlessly.
5. Get Precise
This means painting around an object instead of painting the actual item itself. You can use pencils or markers to make outlines before using watercolors so that it will be easier for you to know which areas need more coats and where you should stop applying color to avoid messing things up. You must practice this technique if you are looking to create realistic images with more vivid colors.